

|
This chapter is intended to give you a better understanding of how to use SEACORK®
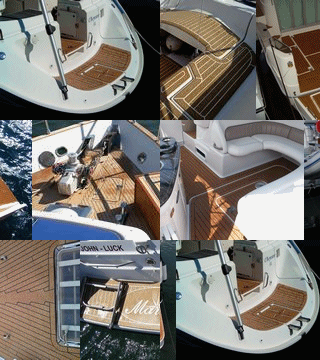
More information about the cutting of SEACORK® may be found on the “Installation” page of this site. There you will find all the necessary information for installing Seacork on your bridge, cockpit, fly-bridge, bathing platform, footbridge, etc.... Once the cutting is finished, it is necessary to carry out the joining as soon as possible. Prior to joining, Seacork can lose a few millimetres, which one can ratraper thanks to his elasticity Once joining is complete and excess adhesive and dirt have been remo ved from the grooves, it is time to think about caulking - generally one uses a black joint (but other colours are available!) Two or three days after caulking, it is time to begin sandpapering. But if, due to some reason, you carried out the installation in several attempts, it is better to sandpaper the whole installation in one go, to minimise differences in colour due to U.V. At tthis final stage, two choices are offered to you. You can leave the Seacork natural or you can treat it with a finishing product. You should be aware that SEACORK® will fade, as any other wood may, but the natural state will preserve an optimal non-skid capacity. On the other hand the finishing product will give it an aesthetic wet appearance, and be easier to maintain. |
