|
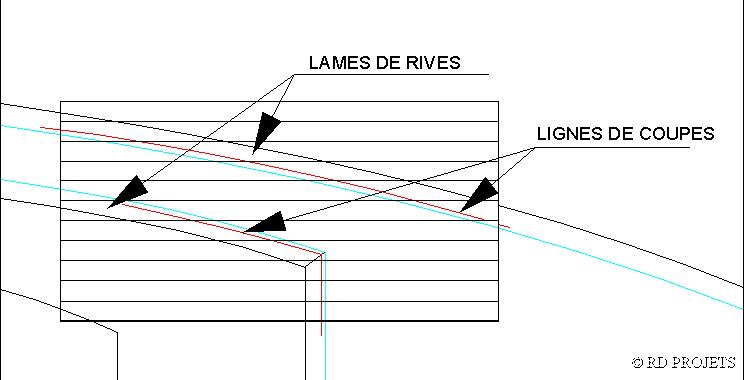
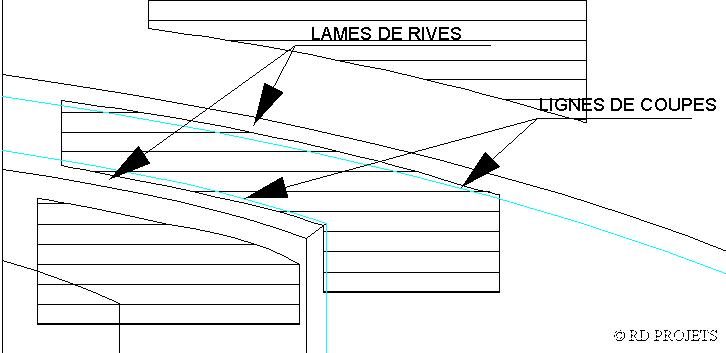
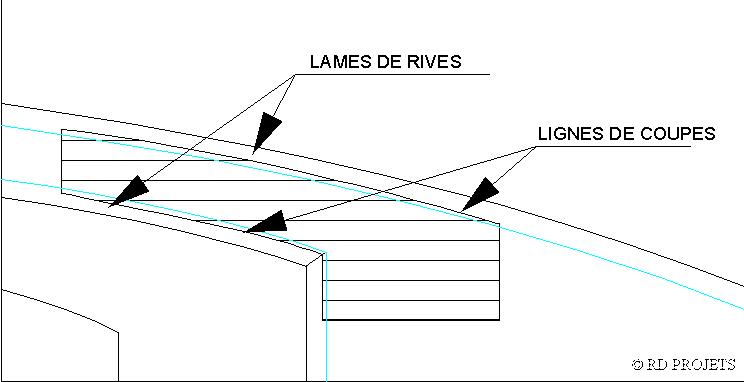
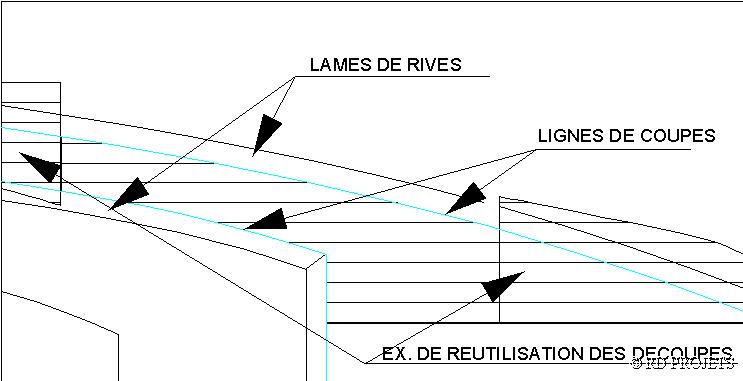
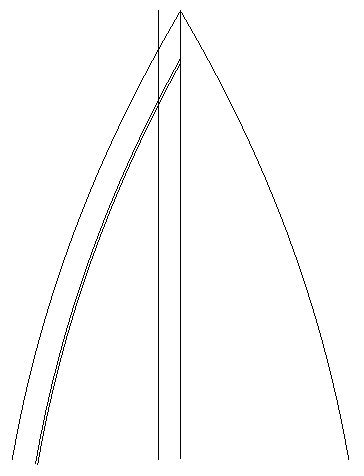
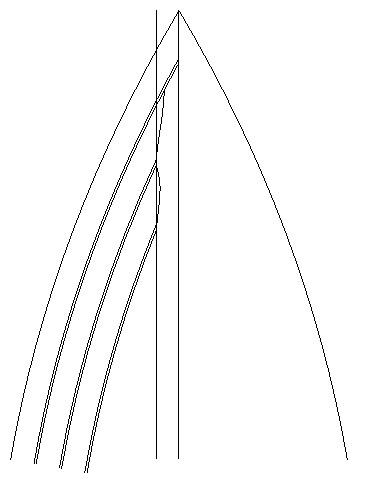
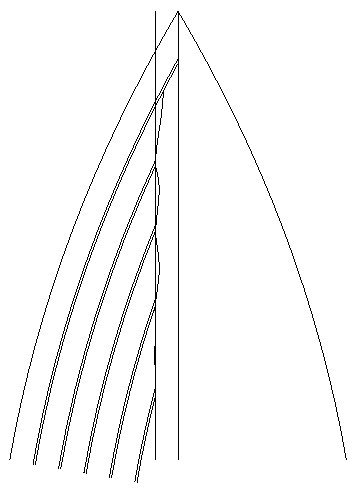
THE CUTTING OF THE PLATES OR THE LATHS Plates The cutting of the plates does not pose a particular problem if it is not on the gangways because space is restricted there. The installation of the plates is started from the axis however for better a comprehension we will not take account of that in our explanatory sketches. Figures below: fig. 1: we imagine 2 fictitious lines called lines of cuts to approximately 3 cm of the edge ext. and int. then us prédécoupont the plates according to these lines. Fig. 2: we will withdraw these pieces which we will re-use fig. 4 then one shoed the final tracing while placing a blade over the plate by taking care to follow the edges well by leaving the thickness of a joint if it is necessary the easy way will be to take a fall of plate by cutting out there a piece from 10 to 15 cm length and a width, of a blade with the two contiguous grooves, for the tracing against walls verticale(roof, bulwark, box, etc....) CLICK ON THE IMAGES TO INCREASE
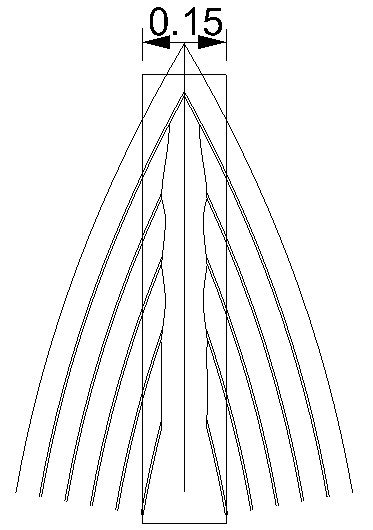
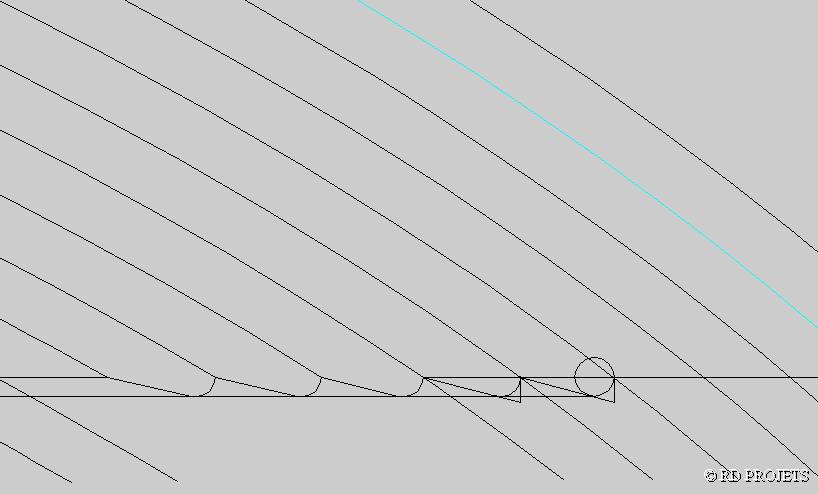
Attention the slope of the cutter must be sufficient for cutting cork without tearing off well it fig. 4 : : example of re-use of the falls. For cuttings to renew like fig. 1 to 3 LES LAMESlaths curved lathsOne will contrary begin the installation of a bridge out of blades with the edge external with an installation by plates and thus by the external bank blade only the last blade will be cut out by the blade of interior bank and thus according to the method previously explained. It will be on the other hand useful, to have a more regular tracing, to use a small wood rod. Indeed the curve of a rod which one curves over the tracing will rectify the defects.
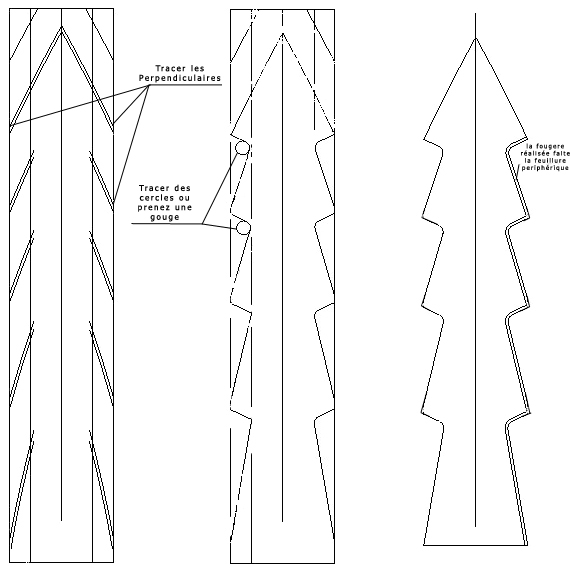
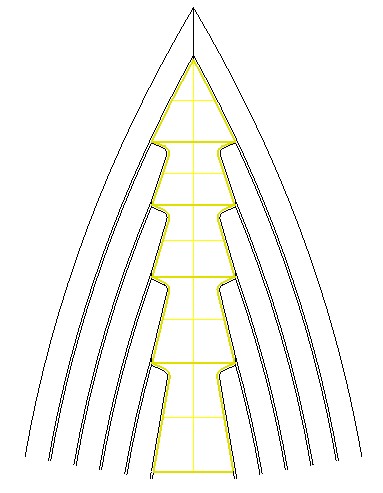
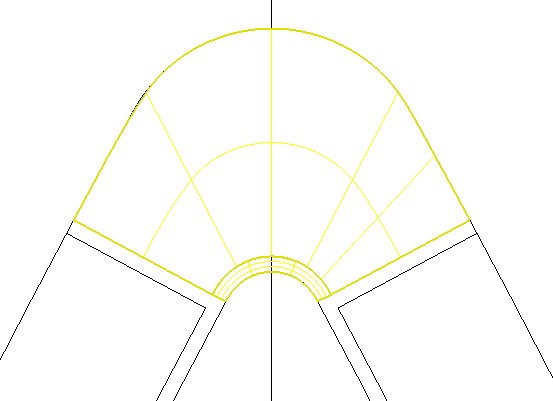
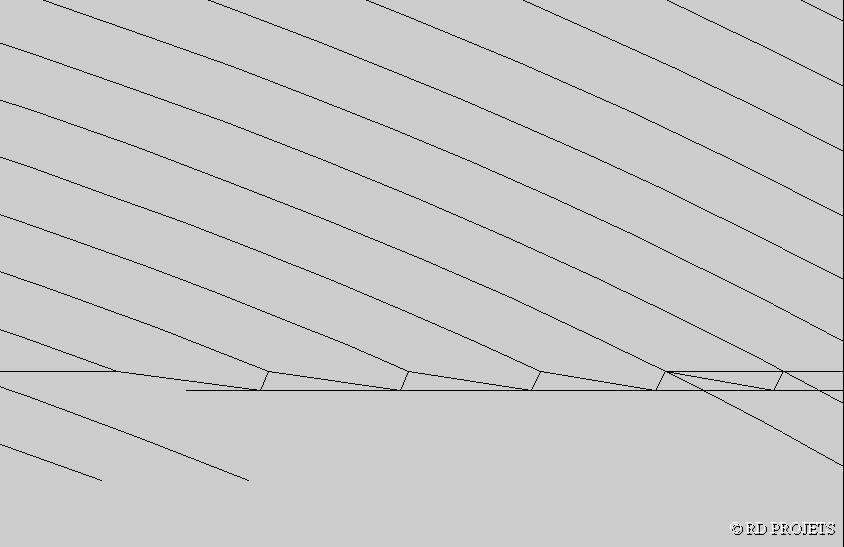
Margin planch Cutting is relatively simple for the laths the cuts on line will be carried out with a square with 90° The tracing of the cuts of mitre is carried out easily by superimposing the two blades to be assembled and by thus tracing their intersection, then one will use it bevel-square which positioned on the tracings must give us a clean and regular cut. By precaution to test has you this technique with falls. "LA FOUGERE"The central part of the bridge is carried out starting from a virgin plate in which one will be able to also cut particular parts. They are in general much broader than the blades of bridge. Simplest is a very right band but on a fine prow, such as one finds them on the sailing ships, cuttings of blades finish at a peak too also frayed it is preferable to carry out a fern. Two types of ferns are realizable. See below. CLICK ON THE IMAGES TO INCREASE
|